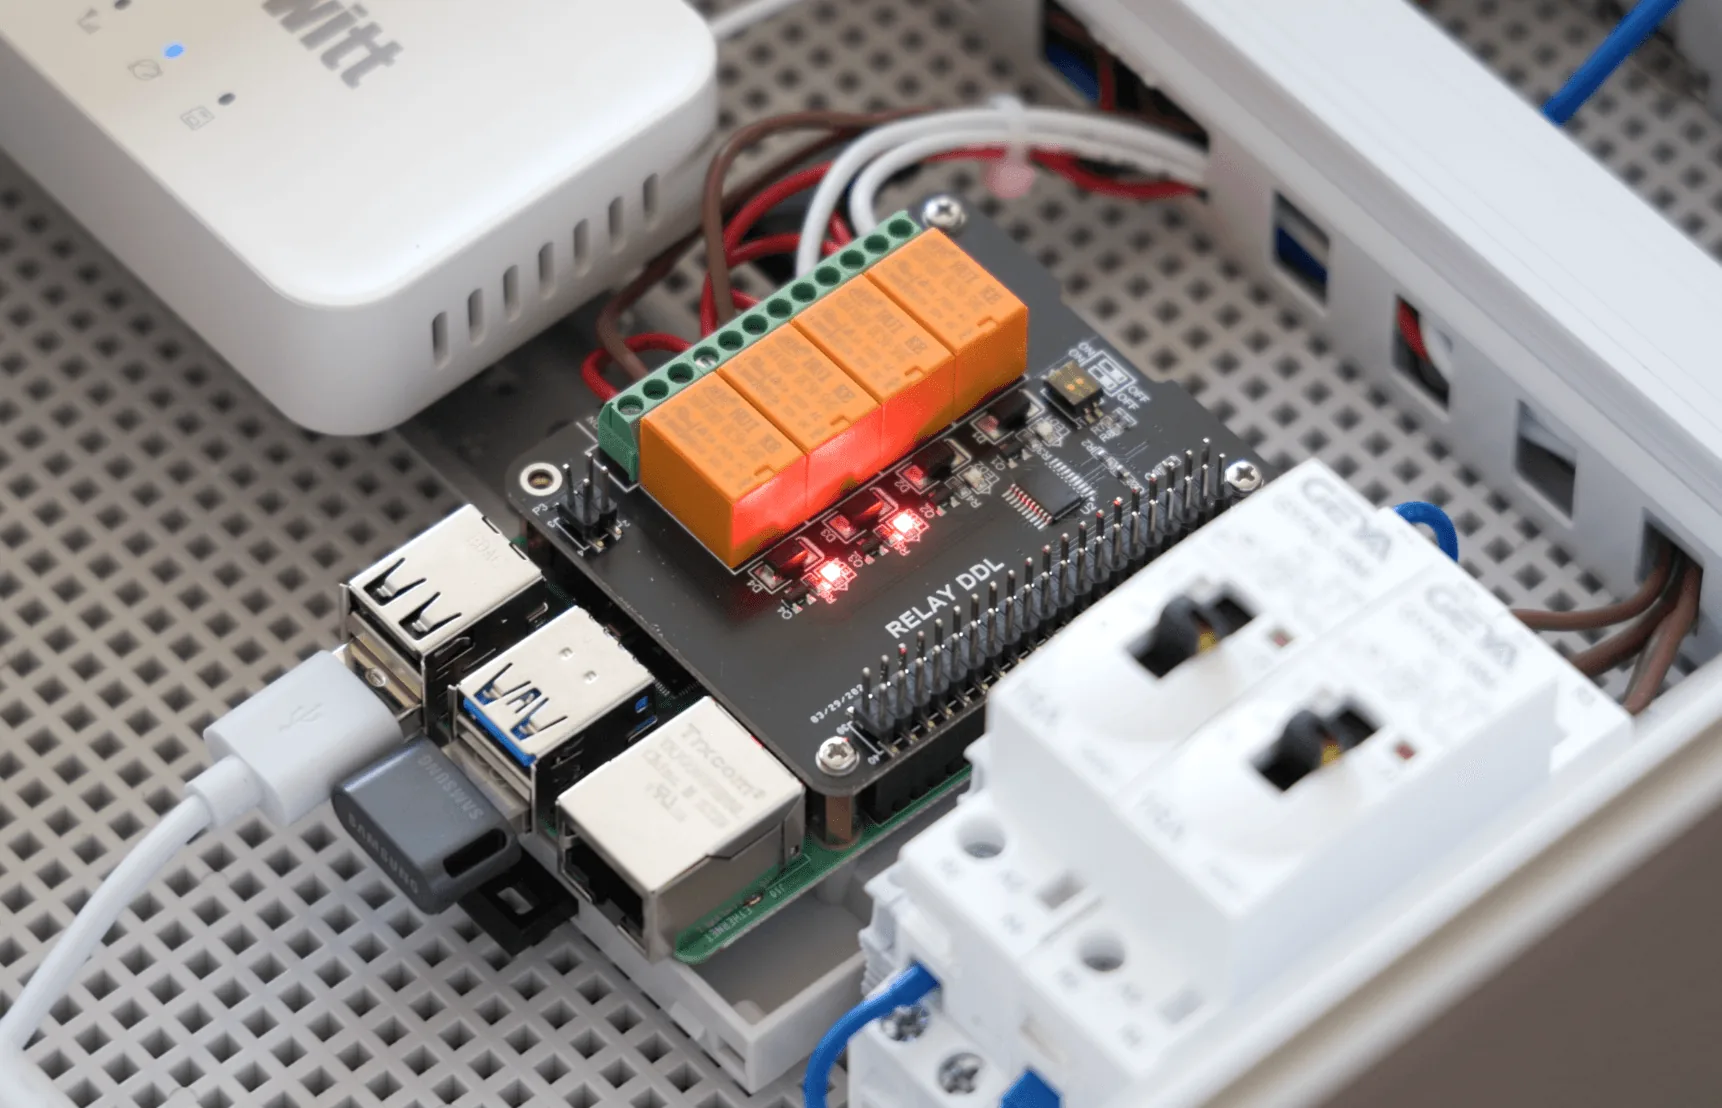
With AoT and a Raspberry Pi you can build an automatic watering system yourself.
All it takes is some basic electrical and networking knowledge, and care over the wiring.
Parts list
| Item | Spec | Qty |
|---|---|---|
| Enclosure and fittings — Hi-Box, cable duct, DIN rail, cable glands | 300*400 | 1 |
| Electrical — 20 A breaker, 16 A breaker, 2 A breaker, 5 V 15 W SMPS, DIN-rail socket, 220–12 V 10 W transformer, 16 A magnetic contactor, 4P terminal, 2.5 sq cable, 1.5 sq cable | ||
| Networking | ||
| Raspberry Pi | ||
| Sensors | ||
| Irrigation equipment |
Assembly
Following the layout drawing, arrange the components on the Hi-Box backplate.
You will connect the wiring before the box is fully assembled, but leave enough room to remove or reconnect a wire with your fingers — you will want that for maintenance.
Cut the DIN rail to the width of the box, fix it to the backplate, then fit stoppers at the ends.
Mount the components on the DIN rail as shown in the layout drawing and connect the wiring.
Use 2.5 sq cable for the run to the main breaker.
For the rest of the wiring, size the cable to the current it carries.
Raspberry Pi
We used a Raspberry Pi 4B with 8 GB of memory and a 256 GB USB drive.